3 Ingredients for an iLand project
This chapter will guide you through the basics of using the iLand simulation software. By the end, you’ll understand how to set up a model project and run a simulation.
3.1 Installing iLand
iLand is free, open-source simulation software. You have a few ways to get it:
Stable releases
Visit the download page of iland-model.org for regular releases. Windows packages are available for direct download.Development versions
For frequent bug fixes and feature updates, see https://github.com/edfm-tum/iland-model. These are also compiled for Windows.Source code
If you need to build iLand for Linux, Mac, or want to modify the model, download the source code. Find details in the Developing iLand chapter.
If you have downloaded a release package, it contains the following:
The executable files (
iland.exeandilandc.exe) and the required library files in multiple folders (Qt6*.dll, icu*54.dll, libEGL.dll, libGLESv2.dll, msvcp140.dll, etc) for running iLand on Microsoft Windows (XP, Vista, Windows 7/8/10/11).You can find a comprehensive example for running the model “out of the box” in the
examplefolder.The full source code of iLand is packed in the
sourcecode.zipfile (or see iLand on GitHub)
Simply extract the ZIP folder to a location of your choice and start the model by double-clicking iland.exe. iLand doesn’t have an installer and won’t modify your Windows registry, so you can even run it from a USB stick! Please note that installing iLand within the Windows Program Files folder can cause issues due to security restrictions – user folders are recommended.
iLand is written in C++ and uses the versatile Qt toolkit (hence the QtXXX.dll library files). This means iLand is designed to work on Linux and Mac systems as well as Windows. We’ve successfully run it on Linux machines (like Ubuntu), and while we haven’t tested it directly on a Mac yet, it should be possible there too.
Note that you have two executable files:
iland.exe: This version includes the graphical user interface, making it easy to use, especially when you’re getting started with the model.ilandc.exe: The console version runs in a terminal window. This is ideal for running multiple simulations in an experiment or if you’re working with a high-performance computing cluster.
For more details, see the iLand Software page: https://iland-model.org/iLand+Software
3.2 Structure of a project
A “project” for iLand is everything that is needed to simulate a specific landscape (or a stand). You’d load a project in the model (actually a project file), and then “run” it for a number of simulation years. You can think of a project as a “landscape”. A good starting point for getting familiar with iLand is the “demo” landscape that can be downloaded from the the website.
The main ingredients of a project are (more details below):
project file
This file holds all current settings of iLand and links to other types of data (e.g., climate data files). You can have multiple project files for the same landscape, typically stored in the main project folder. See comments on the Settings Editor in the iLand GUI chapter for details on how to change settings within the user interface - use this feature with caution, as it will overwrite the original settings in the.xmlfile!species parameters
They define properties / traits of tree species. Tree species parameters are stored in a database, typically in thedatabasefolder. Related to species traits are also the light influence patters stored in thelipfolder.spatial data
Think of GIS data that defines the space of your project / landscape (note that generic landscapes and single stand projects are possible too!). This is often the extent of the simulated area and its properties (e.g., soil data, elevation, etc)climate data
Time series information on climate that drives the simulations. Climate data is stored in a database (you guessed correctly, default location is thedatabasefolder)vegetation data
Data on the initial vegetation at the start of the simulationadditional data (for example, Javascript code files for forest management, specific spatial data for disturbance modules, etc)
Which type of data you work more with depends on the phase of your project. When you are setting up a new landscape, you need to collect all the data and provide it in a way compatible with the model. See Chapter on landscape setup for a deep dive. If you are working with an already existing landscape and previously created simulation scenarios, then your life is likely much easier. For instance, if your project folder already contains climate data for multiple climate scenarios, then you can select one of the climate databases by simply changing the project file (or the iLand settings).
3.2.1 The project file
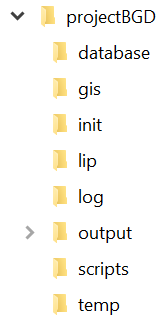
The project-file is stored in the main folder (i.e., see the projectBGD-folder structure in Figure 3.1).
The project file is a XML-file, so its content is organized in a tree like structure. To adjust a parameter, it is probably best to use the search function of your favorite editor with the parameter name as the search term. The parameters with a description thereof can be found in the iLand wiki.
Consider the Settings Editor as a form which is filled with the parameters set in the project file when opened and which rewrites the XML-file when closed with ‘Save changes’. The Settings Editor loads data from the project file only when the editor is opened. That means, whatever changes you make to the project file while the Settings Editor is open, they won’t be adopted by the Settings Editor. And more importantly: Those changes will be overwritten when the Settings Editor is closed with ‘Save changes’. After saving changes, the values of the parameters either reflect the values they were before opening the Settings Editor, or new values defined in the Settings Editor.
3.2.2 Spatial layout
These files are stored in the /gis-folder.
Required
Resource unit or environment grid
- .txt- or .asc-file, resolution of 100x100 m
- contains the raster of the simulation landscape with cell values indicating the ID of the resource unit (=100x100 m cell)
- for more information see iLand wiki pages on simulation extent and subsection grid mode
- node in project-file: model.world.environmentGrid
Stand grid
- .txt- or .asc-file, default resolution of 10x10 m
- contains the raster of the simulation landscape plus neighboring forests with cell values indicating the stand-ID, which can be linked to information on vegetation
- for more information see the chapter on landscape setup and the wiki section on Setting up the stand grid
- node in project-file: model.world.standGrid.fileName
Optional
DEM (digital elevation model)
- .txt- or .asc-file
- The resolution of the input file can vary as iLand internally creates a DEM with a 10 m resolution
- iLand calculates maps with slope and aspect
- When no DEM is given, a flat topography is assumed
- for more information see wiki section on digital elevation model
- node in project-file: model.world.DEM
Wind topoModifier-grid
- .txt- or .asc-file, resolution of 100x100 m
- only needed if the wind module is used, scales the global wind pattern to a local value, values per resource unit
- node in project-file: modules.wind.topoGridFile
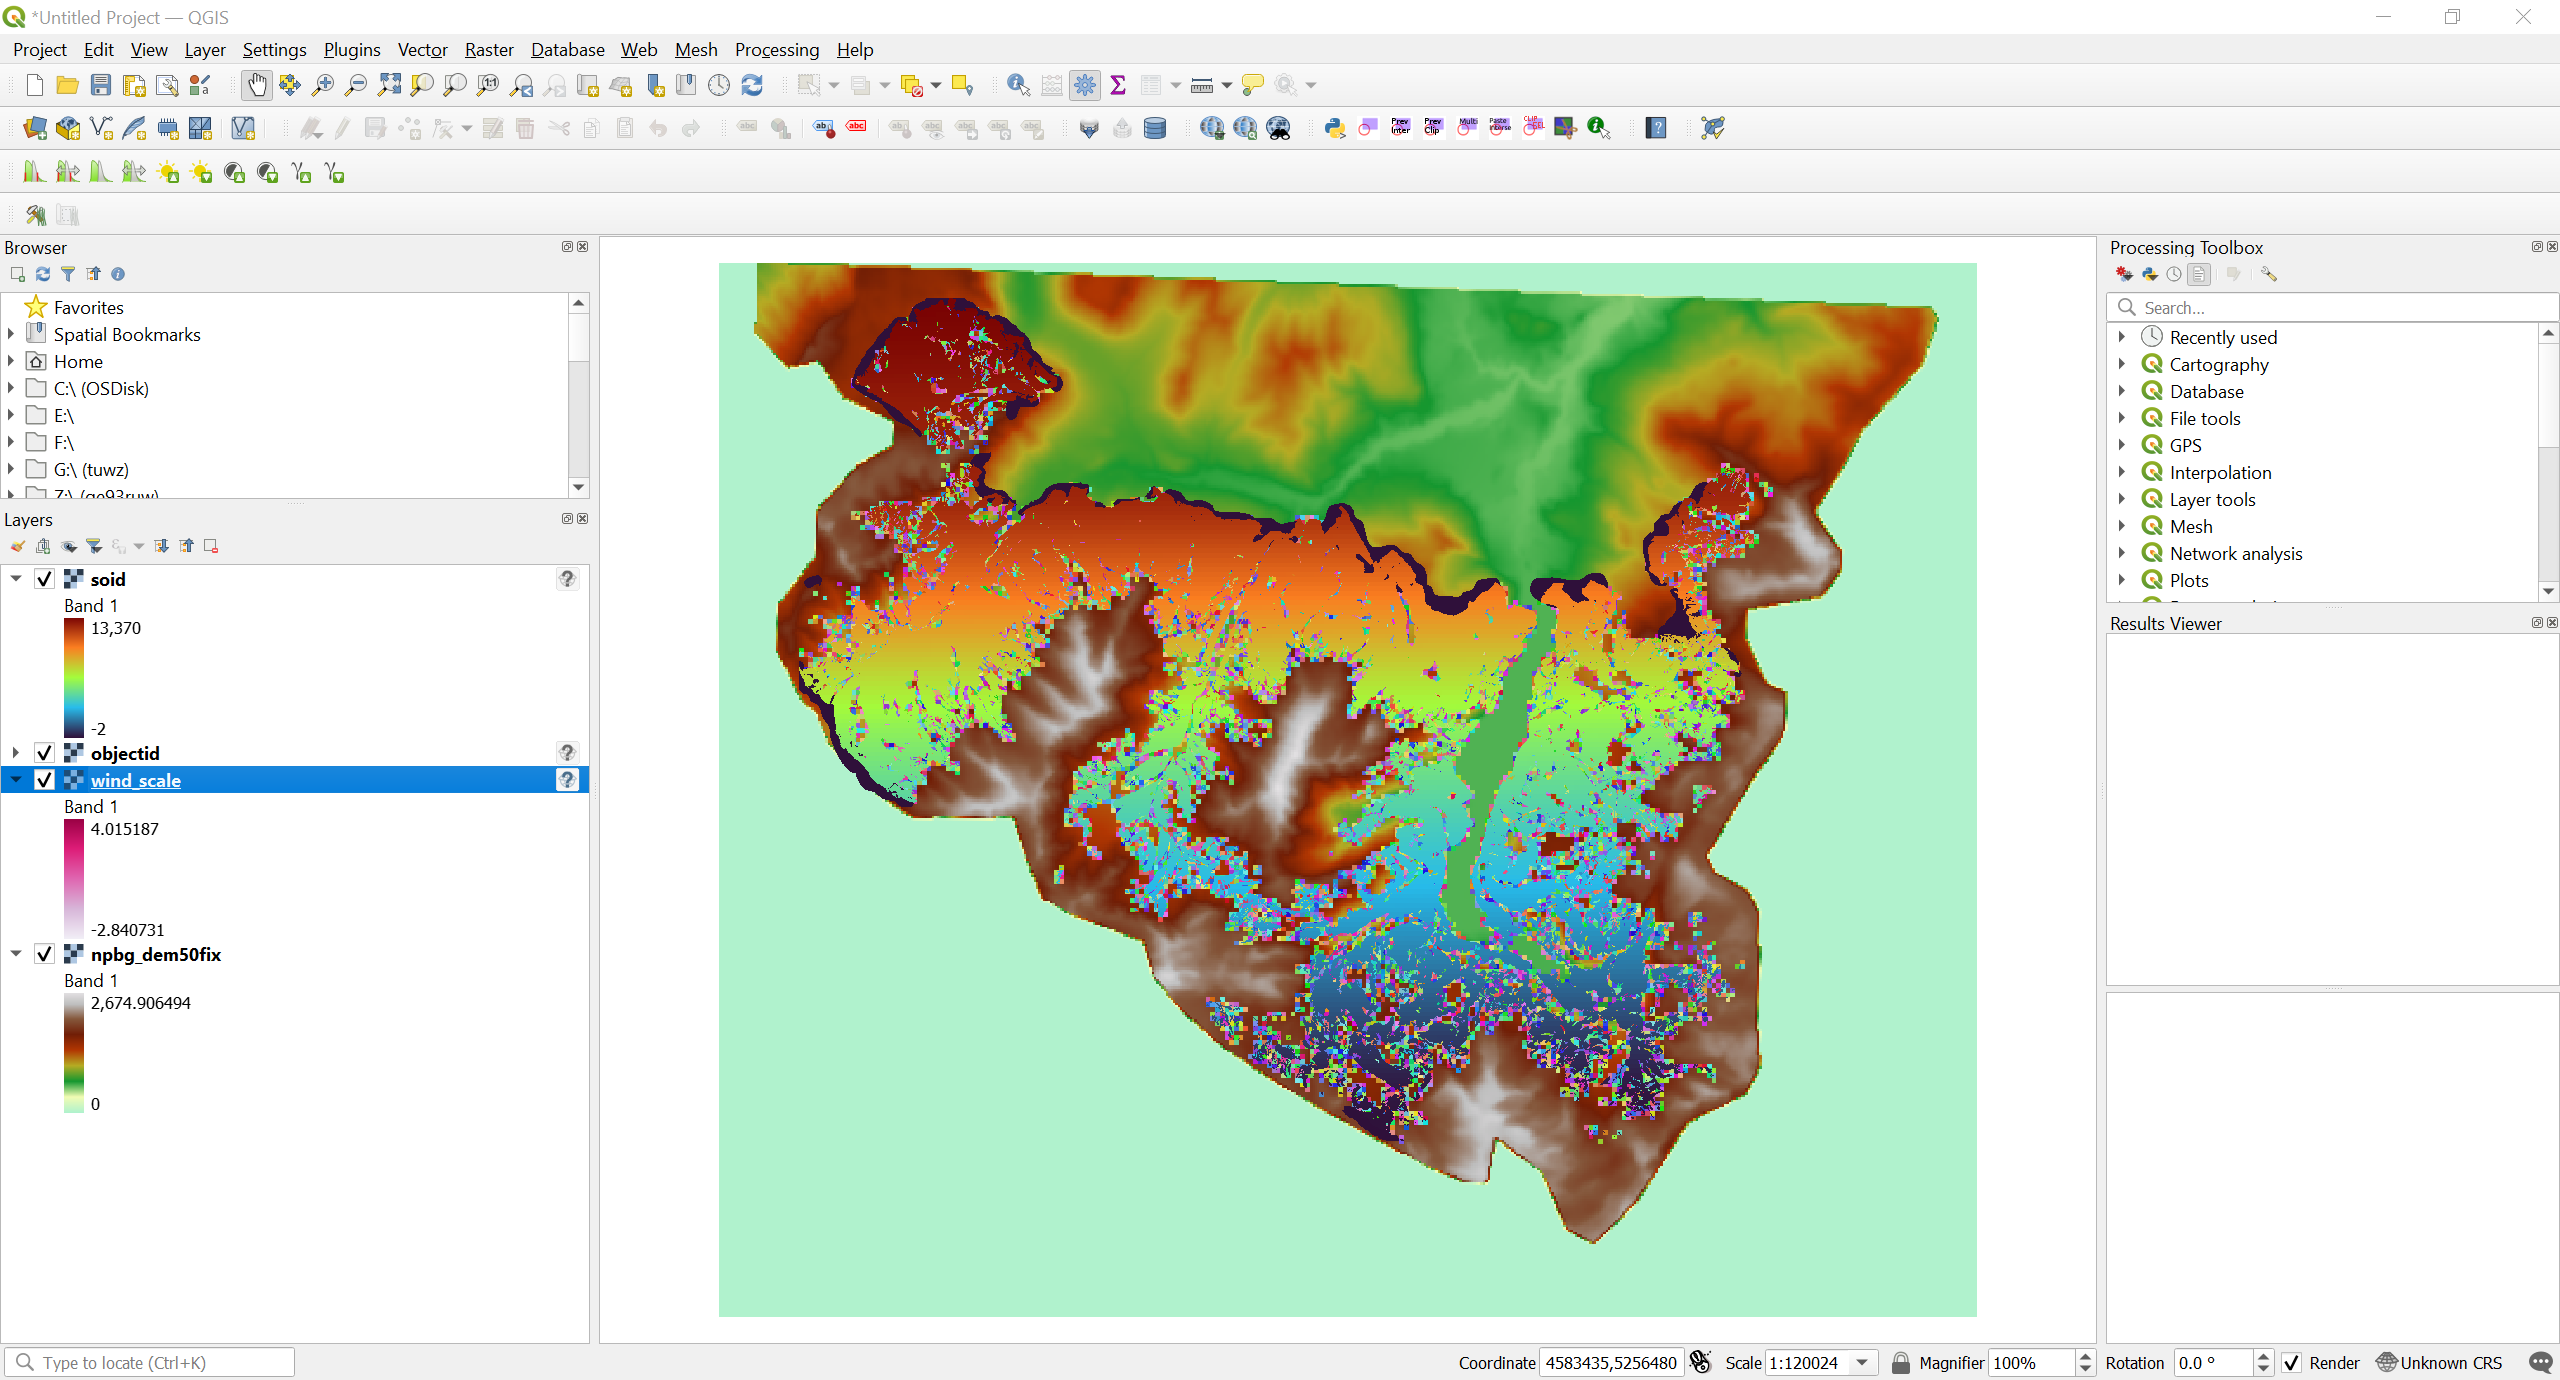
All grids have to align (same projection - here DHDN / 3-degree Gauss-Kruger zone 4, same extent). Shown here for the demo landscape in QGIS:
- DEM (npbg_dem50fix, 50x50 m) in green to grey palette
- Wind topoModifier-grid (wind_scale, 100x100 m) in pinks
- Resource unit grid (objectid, 100x100 m) in single value colors
- Stand grid (soid, 10x10 m) in rainbow colors
3.2.3 Climate data
These files are stored in the /database-folder.
Required
Climate databases
- .sqlite-file, one per climate scenario
- contain tables with daily climate variables, table names can be linked to resource units via the environment file
- for more information on the environment file see wiki page on ClimateData
- node in project-file: system.database.climate
3.2.4 Species data
This file is stored in the /database-folder.
Required
Species databases
- .sqlite-file
- contains the species parameter for the simulated tree species, region-specific
- for more information see wiki page on species parameter
- node in project-file: system.database.in
3.2.5 Soil data
This file is stored in the /gis-folder.
Required
Environment file
- CSV or other text format
- contains for each resource unit the values for soil conditions and climate table name
- for more information see wiki section on spatially distributed parameters
- node in project-file: model.world.environmentFile
3.2.6 Initial vegetation
These files are stored in the /init-folder.
The files needed to set up the initial vegetation vary based on simulation set-up, presented here are the two most common versions:
Initialization file
- CSV or other text format
- contains information about the number of trees of a certain species that will be initialized on a specific stand-ID
- see wiki page on initialize trees and subsection about tree distribution input files
- node in project file: model.initialization.file
- note: model.initialization.mode can be
unit,map, orstandgrid
Snapshot
3.2.7 Other input files
Required
Light interference pattern (LIP)
- bin-files
- LIP files contains several light influence patterns for various diameters and heights of a tree species
- LIP-files are not project-specific and are stored in the
/lip-folder - see wiki page on Lightroom
Optional
Files needed for management etc.
Usually these files are stored in the /scripts-folder